
How To
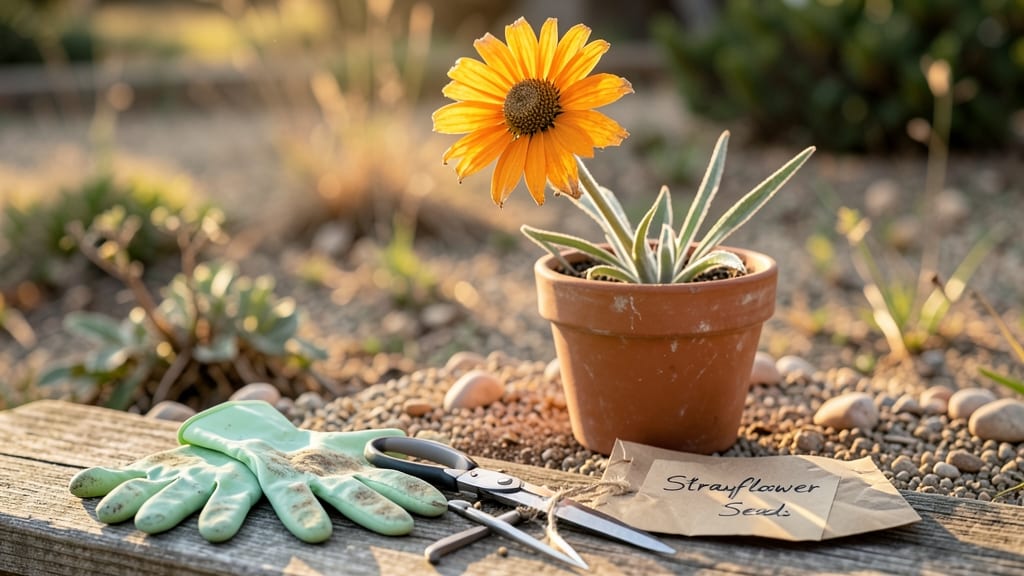
To harvest strawflower seeds, wait until the flower heads turn completely brown and papery—this is when the seeds are fully mature and ready for collection.
Picture this: your 🌼 strawflowers have spent months dazzling your garden with their papery blooms, and now it’s time to preserve their legacy for next year. But timing is everything—harvest too early, and the seeds won’t germinate; wait too long, and they’ll scatter on their own.
I’ve learned the hard way that patience pays off when it comes to seed viability.
You’ll need just a few simple tools: a pair of sharp scissors or pruning shears, a brown paper bag for drying, and a dry, well-ventilated space.
The process is straightforward, but getting it right ensures you’ll have a stash of seeds ready for your spring planting window in USDA Zone 6a or beyond.
In this guide, I’ll walk you through the exact steps to harvest, dry, and store your strawflower seeds—plus the common mistakes that could ruin your harvest and how to avoid them.
By the end, you’ll be ready to collect seeds like a pro and grow next year’s vibrant blooms with confidence.


When to harvest strawflower seeds for maximum viability
Timing is everything when harvesting strawflower seeds—collect them too early, and they won’t germinate; wait too long, and they may scatter or lose viability. The key is watching for flower head maturity, which typically occurs in late summer to early fall (August through October in most climates).
This window ensures seeds have fully developed while avoiding frost damage.
Look for papery brown flower heads that feel dry and brittle to the touch. The seed pods inside should rattle when gently shaken, signaling they’re ready for collection. In warmer climates, this might happen as early as July, while cooler regions may need to wait until October.
Here’s a quick reference to help you spot the perfect harvest moment:
| Stage | Visual Cues | Action | Best Time |
|---|---|---|---|
| Early Bloom | Bright petals, green stems | Do nothing | June–July |
| Fading Bloom | Petals droop, heads turn tan | Monitor closely | Late July–August |
| Harvest Ready | Brown, papery heads; seeds rattle | Collect seeds | August–October |
| Overripe | Heads crumble; seeds scatter | Too late | November+ |
Climate plays a huge role in timing. In USDA Zone 7 or warmer, strawflowers may finish their cycle by September, while Zone 5 or cooler gardens might need to harvest as late as October before the first frost.
Always prioritize dry, sunny days for harvesting to prevent mold or moisture damage.
If you’re unsure whether seeds are ready, perform the "shake test": Hold a flower head over a brown paper bag and give it a gentle shake.
If seeds rain down easily, they’re ready. If not, wait another 3–5 days and check again. Patience here ensures high germination rates next season.
Another pro tip: Harvest seeds in the morning when humidity is low. This reduces the risk of fungal contamination during drying. Store harvested seeds in a cool, dry place (like a paper envelope) until you’re ready to plant them in spring.
For gardeners in humid climates, speed up drying by placing harvested heads in a well-ventilated area with indirect sunlight. Avoid direct sun, which can overheat seeds and reduce viability. Aim for a dry, airy space like a garage or shed with a small fan to circulate air.
One common mistake is harvesting seeds after they’ve scattered naturally. Strawflowers often release seeds when fully dry, so keep an eye on your plants in late summer. If you spot empty flower heads on the ground, you’ve missed the boat—collect seeds before they hit the soil!
Finally, note that strawflower seeds retain viability for 2–3 years if stored properly. Label your seed packets with the harvest year to track freshness. With the right timing, you’ll enjoy a bountiful harvest of seeds ready for next year’s garden.
Step-by-step guide to collecting and processing strawflower seeds
Once you’ve identified your strawflower seeds are ready for harvest, the next step is careful collection and processing. This ensures high germination rates and healthy plants next season. I’ve perfected a simple method that preserves seed viability while keeping the process efficient—perfect for busy gardeners like me!
Gather your tools first: a pair of clean scissors or pruners, small paper bags (or envelopes), and a flat surface for drying. Avoid plastic bags—moisture buildup ruins seeds fast.
The key is speed and dryness, so work on a sunny, dry day when humidity is low for the best results.
How to Harvest Strawflower Seeds
- Step 1: Snip dried flower heads just above the stem using clean scissors. Place each head in a paper bag immediately to prevent seeds from scattering.
- Step 2: Label each bag with the variety name and harvest date. This helps track which seeds you’ve collected for future planting.
- Step 3: Let flower heads dry in a warm, dry location (like a garage or shed) for 7-10 days. Avoid direct sunlight—it can overheat and damage seeds.
- Step 4: Once completely dry, gently rub the flower heads between your fingers over a clean sheet of paper. The seeds will separate from the chaff and fall out.
- Step 5: Sift through the debris with a fine-mesh sieve to remove any remaining plant matter. Store seeds in a paper envelope or airtight container in a cool, dark place.
After processing, your strawflower seeds should be clean and ready for storage. I like to add a silica gel packet to my seed envelopes to absorb any lingering moisture—this prevents mold and extends shelf life. Seeds stored this way can remain viable for 2-3 years if kept dry.
For extra insurance, test a few seeds before storing the rest. Plant a small batch in pots and check germination rates. If they sprout well, you know your harvest was successful. If not, you might need to adjust drying times or storage conditions next time.
Don’t forget to label everything! I’ve learned the hard way that unmarked seed packets can lead to confusion when planting. A simple note with the variety and harvest year saves time and frustration later. Happy harvesting—your future garden will thank you!