
Picking
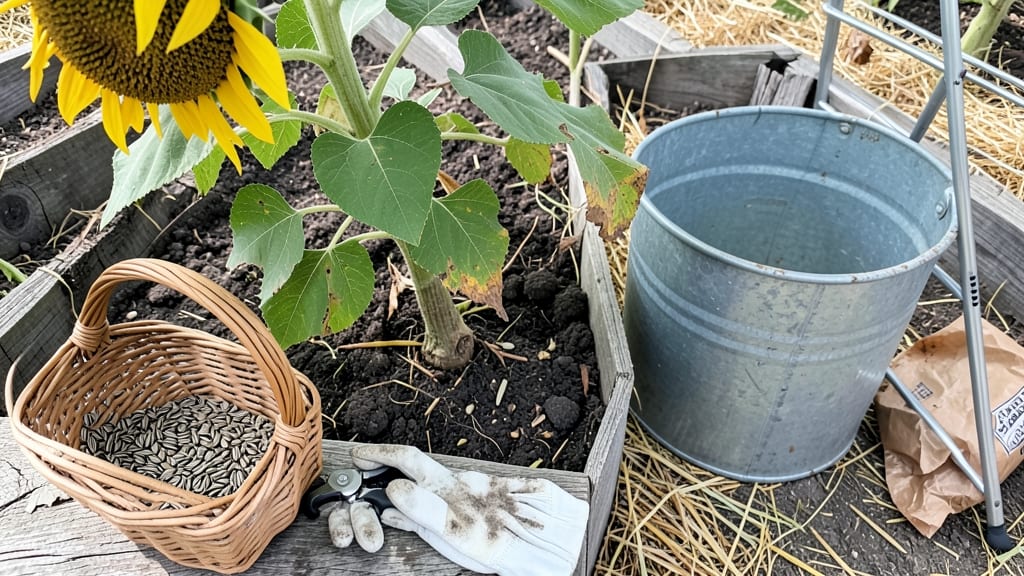
Sunflower seeds are ready to harvest when the back of the head turns brown and papery, and the seeds rattle when shaken — but timing this just right avoids bitter flavors and wasted effort.
Picture this: you’ve nurtured your 🌻 from a tiny seedling to a towering giant, only to miss the harvest window by days. That’s how you end up with seeds that taste bitter or shatter like glass.
The key? Watching for those two telltale signs—color and sound—before the first frost sneaks in.
In USDA Zone 6a, where most gardeners grow sunflowers, the harvest window typically falls between July and September, depending on your variety. But climate tricks can push that timeline earlier or later, so knowing the exact cues keeps you from playing guess-and-check with your crop.
Below, I’ll walk you through the color shift and texture test that guarantee perfect ripeness, plus how to handle seeds post-harvest so they stay viable for next year’s garden.


Sunflower seed ripeness: the color & texture test for harvest-ready seeds
Knowing when sunflower seeds are ready to harvest can mean the difference between sweet, crunchy seeds and bitter, underdeveloped ones. The key lies in watching for three critical visual cues: the back of the seed head turning brown, petals dropping naturally, and a papery texture.
These signs indicate the seeds have reached their peak ripeness and are ready for harvesting.
Sunflowers typically mature between 80 to 120 days after planting, depending on the variety and growing conditions. In USDA Zone 6a, where I garden, most sunflowers reach harvest time between late July and early September.
However, regional climate variations can shift this window—cooler areas may need an extra week or two, while hotter climates might see earlier ripening.
Here’s the visual and tactile checklist I use to confirm ripeness before harvesting:
| Ripeness Indicator | What to Look For | Action to Take |
|---|---|---|
| Seed Head Color | Back of head turns deep brown and papery | Begin daily checks for petal drop |
| Petal Condition | Petals fall off naturally or wilt completely | Monitor for seed rattle when shaken |
| Seed Texture | Seeds feel firm and dry when pressed | Harvest within 2-3 days to avoid over-ripening |
| Sound Test | Seeds rattle loudly when head is shaken | Harvest immediately for best seed quality |
| Leaf Color | Lower leaves turn yellow and dry | Confirm with seed head checks before harvesting |
The color shift from green to brown on the back of the seed head is the first clear sign that seeds are nearing maturity. This change happens as the plant redirects energy from the leaves to the seeds.
I’ve found that dwarf varieties like 'Teddy Bear' ripen faster—often within 60 to 70 days—while standard varieties like 'Mammoth' take closer to 100 days.
Texture plays a crucial role, too. When seeds are ready, the seed head feels dry and papery to the touch, almost like crumpling tissue paper. If you press a seed between your fingers and it feels soft or moist, it’s not ready yet.
This tactile test is especially useful in humid climates, where moisture can delay ripening.
Don’t overlook the petal drop as a key indicator. When petals fall off naturally, it’s a strong signal that the seeds inside are maturing. However, be cautious—if petals drop too early due to wind or pests, the seeds may not fully ripen.
In my garden, I’ve seen this happen with late-summer plantings when temperatures drop suddenly.
Regional climate impacts can’t be ignored. In cooler northern zones, like mine in Zone 6a, frost risk becomes a factor. If frost threatens before seeds ripen, harvest the heads early and dry them indoors to salvage the seeds.
Conversely, in hotter southern climates, seeds may ripen faster, so start checking for readiness earlier in the season.
One mistake I’ve made in the past was waiting too long after the seeds rattled. Over-ripe seeds can sprout in the head or attract pests like squirrels and birds.
To avoid this, I now harvest within 2-3 days of hearing that telltale rattle. This ensures the seeds are at their peak flavor and viability.
Pro tip: Use a small pruning shears to cut the seed head from the stem, leaving a 2-inch stalk for easier handling. Hang the heads upside down in a dry, well-ventilated space for 1-2 weeks to fully dry before shelling.
This method preserves seed quality and makes the harvesting process smoother.
🌻
How to check sunflower seed maturity without damaging the plant
Knowing exactly when sunflower seeds are ready to harvest without damaging your plant is a game-changer. The key is using non-destructive testing methods that let you monitor progress daily. Start checking about 80-120 days after planting, depending on your variety.
This gives you enough time to catch the perfect moment while avoiding overripe seeds that scatter or attract pests.
Begin by observing the flower head and seed back for color changes. The petals will naturally fall off, revealing the seed head's true maturity. This is your first visual cue that the seeds are nearing harvest readiness.
Don’t wait until the entire head is fully brown—some varieties benefit from harvesting slightly earlier when the back turns papery brown but still retains some green.
-
Step 1: Tap Test
Gently tap the seed head with your knuckles. If you hear a loud rattle, seeds are mature and ready. A dull thud means they need more time. -
Step 2: Seed Shell Hardness
Press a seed between your fingernails. It should feel firm but not rock-hard. If it crushes easily, it’s underripe; if it’s too hard, it may have lost viability. -
Step 3: Leaf Color Shift
Check the lower leaves for browning or yellowing. Healthy green leaves indicate the plant is still actively growing, while drying leaves signal seed maturity. -
Step 4: Daily Monitoring
Begin checking every 2-3 days once the back of the head turns brown. Use a magnifying glass to inspect seed color—ripe seeds are dark and uniform, not striped or patchy. -
Step 5: Frost Watch
If frost is forecast within 3-5 days, harvest immediately, even if seeds aren’t fully mature. Frost can ruin seeds faster than you think.
One of the most overlooked cues is the seed head’s texture. Run your fingers along the back—it should feel dry and papery, almost like crumpling tissue paper. If it’s still slightly damp or sticky, wait another day or two.
This tactile check is especially useful for tall varieties, where visual cues might be harder to spot from the ground.
For dwarf varieties, start monitoring earlier—around 60-70 days—since they mature faster. Keep a gardening journal to track when you begin daily checks. Note the date you first see the back of the head turn brown, as this helps predict harvest timing for future plants.
Pro tip: Use a small white bowl under the head to catch fallen petals and seeds—this gives you an early warning that maturity is near.
If you’re growing sunflowers in hot climates, seeds may mature faster, so check daily once the head starts drying. In cooler regions, extend your monitoring window by 5-7 days to account for slower drying. Always harvest on a dry, sunny morning to ensure seeds dry properly post-harvest.
Timing is everything—harvest too early, and seeds won’t store well; wait too long, and they’ll scatter or sprout in the head. With these non-destructive tests, you’ll nail the perfect harvest window every time. Happy harvesting! 🌾