
Propagation
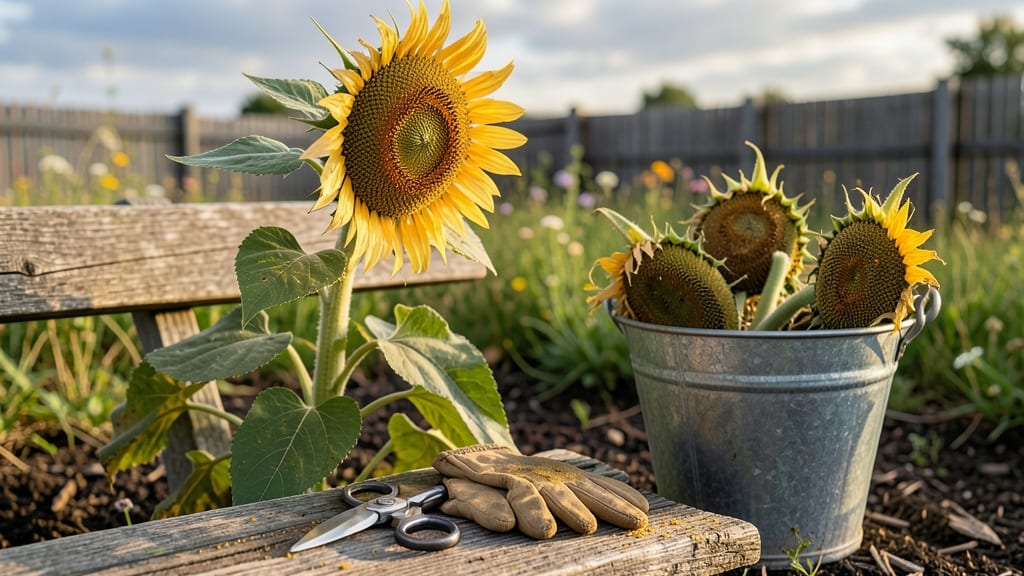
To cut sunflower heads at the perfect time means saving seeds that’ll sprout strong next season — and missing the window can leave you with nothing but empty shells.
Sunflowers 🌻 aren’t just showstoppers; they’re seed-saving goldmines, but only if you time it right. Too early, and the seeds won’t mature. Too late, and birds or weather will beat you to them. The key? Watching for those telltale signs of readiness.
In this guide, I’ll walk you through the three critical stages to cut sunflower heads—from the first yellowing petals to the firm, dry seed heads—plus how to test maturity before making the cut.
You’ll also learn how to avoid common mistakes that ruin seeds, like cutting too soon or waiting too long, and why leaving a few heads for wildlife is a smart move.
The 3 critical stages to cut sunflower heads for seed saving
Timing your sunflower head harvest is everything when saving seeds. Cut too early, and you’ll end up with green, immature seeds that won’t germinate. Wait too long, and birds or weather will ruin your crop.
The key is watching for these three distinct stages that signal perfect seed maturity—each with its own visual cues and ideal timing window.
First, you’ll notice the petals begin drooping and turn brownish-yellow. This is your first warning that the flower is transitioning from pollination to seed development. But don’t rush to cut yet—this stage alone isn’t enough to guarantee viable seeds. You’ll need to confirm two more maturity signs before harvesting.
🌾 The 3 Critical Harvest Stages
-
Stage 1: Petal Transition
Petals turn brown/yellow and droop 70-80% closed -
Stage 2: Seed Head Dryness
Back of head turns solid yellow and feels paper-dry -
Stage 3: Seed Maturity
Seeds are dark brown/black and plump (no green spots)
At Stage 1 (Petal Transition), you’re entering the critical window where seeds begin developing. The petals will look wilted, almost like they’re hanging their hats—this is nature’s way of saying, “Pollination’s done, seeds are forming.”
But here’s the catch: if you cut now, your seeds might still be moist and underdeveloped. Always verify with the next two stages.
By Stage 2 (Seed Head Dryness), the back of the flower head transforms from green to a uniform yellow color. This is your golden cue that the seeds inside are maturing. Run your thumb over the seed head—it should feel dry and papery, not moist or spongy.
If it’s still green, wait 3-5 days. But if it’s already turning brown and crumbly, you’ve waited too long.
Finally, Stage 3 (Seed Maturity) is where you confirm seed viability. Crack open a seed head to check for dark brown or black seeds that feel firm. Any green or white seeds mean the head wasn’t ready.
Pro tip: Save a few seeds to test—plant them in moist paper towels for 3-5 days. If they sprout, you’ve nailed the timing!
Weather plays a huge role here. If frost threatens before Stage 3, cut at Stage 2 and dry the heads indoors. Conversely, if birds are stripping seeds early, harvest at Stage 1 and dry them faster.
The trade-off? Stage 1 seeds may need extra drying time, but they’ll still germinate if handled properly.
One common mistake is assuming all sunflower varieties mature at the same rate. Dwarf varieties like ‘Teddy Bear’ mature faster (60-70 days) than giants like ‘Russian Giant’ (100-120 days). Always check your seed packet for days to maturity and adjust your harvest timeline accordingly.
After cutting, hang heads upside down in a well-ventilated, dry space (like a garage or barn) for 2-3 weeks. This final drying step is non-negotiable—it prevents mold and ensures 90%+ germination rates.
Once fully dry, rub the seeds free from the head and store them in a cool, dark place for up to 5 years.
Remember: seed saving isn’t just about cutting at the right time—it’s about balancing visual cues with environmental conditions. Master these three stages, and you’ll turn your sunflowers into a renewable seed source year after year.
How to test sunflower seed maturity before cutting (3 simple methods)
Knowing exactly when to cut sunflower heads for seed saving can make the difference between high germination rates and wasted effort. While most gardeners wait for petals to brown, subtle visual and tactile clues reveal the perfect harvest window.
These three simple tests will help you determine seed maturity with confidence—no guesswork required.
First, observe the back of the flower head. When it turns from green to dull yellow-brown, seeds are nearing maturity. This color change signals the plant has shifted energy from blooming to seed development.
Pair this with drooping petals, and you’re in the ideal 3-5 day harvest window before seeds scatter naturally.
⚠️ WARNING: Cutting Too Early or Too Late Ruins Seeds ⚠️
🌾 Pro Tip: Mark your calendar when petals first brown. Recheck every 24 hours—seeds mature fastest in dry, sunny weather.
Method one: the squeeze test. Gently press a seed head between your fingers. If it feels firm and papery (like a dry corn husk), seeds are ready. A soft or spongy head means they need 2-3 more days. This tactile check is foolproof—no tools needed, just your hands.
Next, crack open a seed pod to inspect color. Mature sunflower seeds are dark gray or black with a hard, glossy shell. Pale or white seeds are underripe and won’t sprout.
Overripe seeds may look shriveled or cracked—these won’t store well. Aim for seeds that pop open easily when pressed between your nails.
For the final check, test moisture content. Snap a seed head in half and examine the center core. If it’s dry and hollow-sounding when tapped, seeds are ready.
A damp or sticky core means more drying time is needed. In humid climates, hang heads upside-down for 1-2 weeks to finish drying before processing.
If you miss the window, don’t panic. Undermature seeds can dry on the plant (though germination drops). Overripe seeds may still sprout if stored in a cool, dry place for up to 2 years.
For best results, though, act within 3 days of petal browning—your seeds (and next year’s sunflowers) will thank you!