
Propagation
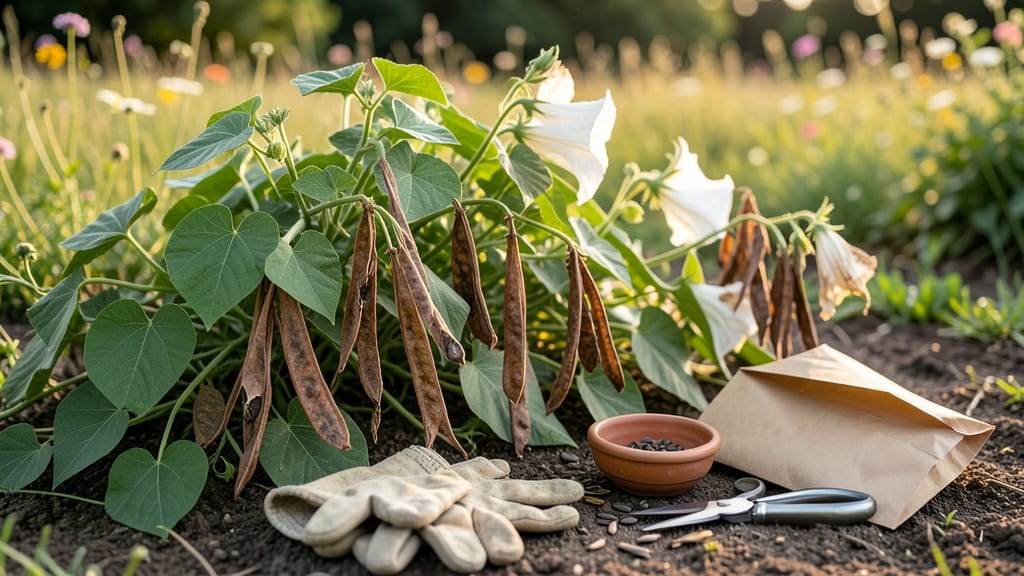
Harvesting moonflower seeds at the right time ensures a bountiful display of 🌙 blooms next season—here’s how to do it without losing a single seed.
Picture this: your moonflower vines have spent all summer dazzling with their nocturnal white blooms, and now the pods are drying out. But if you wait too long, the seeds scatter before you can collect them—or worse, mold sets in.
The key? Knowing when those pods are just right: brown, dry, and ready to crack open.
This guide breaks down the exact moment to harvest, how to tell when seeds are mature (and when they’re not), and the simple steps to store them so they stay viable until planting season.
No more wasted effort or lost seeds—just a stash of moonflower magic for your garden’s next act.
You’ll learn the 3 signs of perfect seed readiness, the best way to dry and store your harvest, and even how to troubleshoot if your pods refuse to cooperate. Ready to turn this year’s moonflowers into next year’s showstopper?


Best time to harvest moonflower seeds for maximum viability
Timing is everything when harvesting moonflower seeds (Ipomoea alba), and missing this 3-5 day window post-bloom can mean the difference between high germination rates and wasted effort.
These nocturnal beauties follow a precise cycle: once their white blooms fade by morning, count those days carefully—this is when seeds mature inside the pods. Climate plays a huge role too; cooler regions may need an extra day or two compared to hotter areas where pods dry faster.
Look for visual cues that scream "harvest time": pods should turn from green to papery brown, and a gentle shake should make seeds rattle inside.
If you wait too long, pods may split open naturally, scattering seeds across your garden—meaning you’ll need to race against time to collect what’s left. Premature harvesting (when pods are still green) yields shriveled, non-viable seeds, while overripe seeds lose viability quickly.
| Stage | Pod Color | Seed Condition | Harvest Readiness | Climate Note |
|---|---|---|---|---|
| 3 Days Post-Bloom | Greenish-brown | Firm, white seeds | Not ready | Humid areas may delay |
| 5 Days Post-Bloom | Dry brown | Plump, dark seeds | Optimal harvest | Hot climates speed up |
| 7+ Days Post-Bloom | Cracked, splitting | Dry, shriveled seeds | Too late | Seeds scatter |
In hotter climates, like USDA Zone 9 or 10, moonflower pods dry out faster—sometimes in just 3 days. I’ve seen them go from fresh blooms to split-open pods in a week if temperatures hover above 90°F (32°C).
Conversely, in cooler regions (Zones 6-8), pods may take up to 7 days to mature. Monitor pods daily during peak summer heat to avoid missing the window.
Another critical sign I rely on is the leaf behavior. As seeds mature, the vine’s leaves near the pods will yellow and die back, signaling the plant is redirecting energy to seed production. This is your last chance to harvest before the pods split open.
If you’re unsure, pick a few pods early—split one open to check seed color. Dark, plump seeds are ready; pale or shriveled ones aren’t.
Rain complicates things, especially in humid climates. If heavy rain is forecast, harvest pods 2-3 days early to prevent mold or premature splitting.
I once lost a batch of seeds because I waited for perfect dry conditions—only for a storm to hit. Pro tip: Use a breathable paper bag to collect pods and store them in a dry, shaded spot for 24 hours before processing.
If you’re harvesting for long-term storage, aim to collect seeds when pods are fully brown but still intact. Overripe seeds (those that’ve already scattered) have lower germination rates, sometimes dropping below 50%.
For best results, store seeds in a sealed container with a silica gel packet to absorb moisture. Label the container with the harvest date—moonflower seeds stay viable for 2-3 years if stored properly.
One mistake I’ve made is harvesting too many pods at once. Moonflowers produce seeds in waves, so space out collections every 2-3 days to catch all viable seeds. Leave a few pods on the vine if you’re unsure—they’ll self-sow, giving you a backup batch.
Just be prepared to thin seedlings next spring if you end up with a moonflower jungle!
For northern gardeners, time your harvest before the first frost.
In Zone 6, I’ve had to rush collections by late September to avoid killing the vines. Indoor drying (on a mesh screen in a cool, dry place) speeds up the process if frost is imminent. Never use heat—moonflower seeds are sensitive to temperature spikes, which can reduce viability by 30%.
Finally, test a few seeds before storing the whole batch. Place 10 seeds in a moist paper towel and keep them in a warm, dark place for 7-10 days. If 80% or more sprout, your harvest is ready for storage.
If germination is low, recheck your timing—you may have harvested too early or too late. Next year’s moonflower magic depends on getting
Step-by-step guide to extracting and drying moonflower seeds
Once you’ve identified your mature moonflower seed pods, the next critical step is careful extraction and drying to preserve seed viability. Rushing this process can lead to moldy seeds or poor germination rates, so patience is key.
I’ll walk you through the exact techniques I use to ensure my moonflower seeds stay fresh for next season’s garden.
Moonflower pods typically split open naturally when fully mature, but sometimes they need a gentle nudge. The goal is to remove the seeds while keeping them intact and dry. Start by harvesting pods that have turned dry and brown—these are your best candidates for successful seed extraction.
Avoid pods that are still green or overly brittle, as they may not contain viable seeds.
- 1 Harvest the pods: Gently twist and pull the brown, dry pods from the vine. Place them in a paper bag to prevent moisture buildup.
- 2 Crack open pods: Place a pod on a clean, flat surface and gently press with your thumbs until it splits. Avoid crushing the seeds inside.
- 3 Remove seeds: Carefully extract the dark, plump seeds using tweezers or your fingers. Discard any shriveled or discolored seeds immediately.
- 4 Air-dry seeds: Spread seeds on a paper towel in a well-ventilated area (like a mesh screen) for 3-5 days. Avoid direct sunlight to prevent overheating.
- 5 Store properly: Once fully dry, transfer seeds to a paper envelope or airtight container with a silica gel packet to absorb moisture.
If you’re short on time or live in a humid climate, you can use a low-heat drying method instead. Place seeds on a baking sheet in a low oven (95°F or 35°C) for 1-2 hours, stirring occasionally.
This mimics natural drying while speeding up the process. Just be cautious—never exceed 100°F (38°C), or you’ll risk killing the seeds.
Common pitfalls include moldy seeds from excess moisture or premature drying that shrinks them. To avoid these, always check for dampness during storage and re-dry seeds if needed. I’ve found that storing seeds in the fridge (35-40°F or 2-4°C) for up to 3 years extends their viability significantly.
With these steps, you’ll have a stash of high-quality moonflower seeds ready for next year’s garden. Just remember: patience during extraction and drying is the secret to reliable germination and a repeat performance of those magical night-blooming whites. 🌙