
Planting
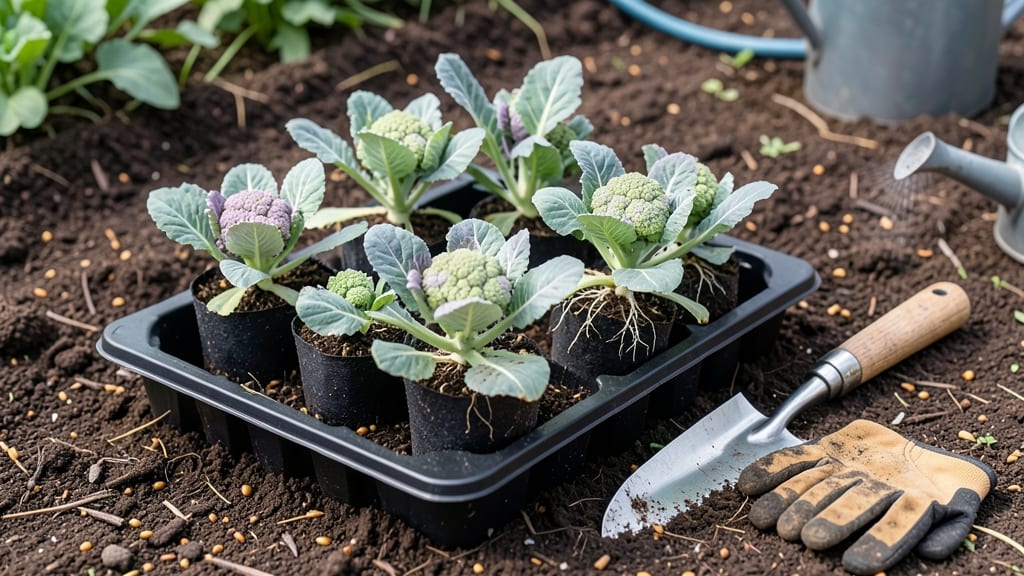
To plant cauliflower plants successfully, start by preparing the soil with rich organic matter and a pH of 6.0–7.0 🥬 — the foundation for strong roots and zero transplant shock.
Struggling with wilted cauliflower transplants? The secret to thriving plants lies in the soil—not just the seeds. I’ve seen firsthand how a few extra steps in soil prep can turn a struggling transplant into a head-start for harvest.
This isn’t just about digging a hole. You’ll learn how to loosen the soil, mix in compost, and space plants just right to avoid overcrowding—mistakes that kill more cauliflower starts than you’d think.
By the end, you’ll know the exact timing for planting in Zone 6a, how deep to bury those roots, and the watering tricks that keep your plants happy from day one.

Optimal soil conditions for cauliflower transplants to thrive
Cauliflower transplants are fussy about their environment, and soil quality is the foundation of their success. If your soil isn’t right, even the hardiest transplants will struggle with transplant shock and stunted growth.
The key? A rich, well-draining mix with the perfect pH balance and nutrient profile. Let’s break down what your cauliflower needs to thrive from day one.
First, cauliflower prefers loamy soil with a slightly acidic to neutral pH of 6.0–7.0. This range ensures the plant can absorb essential nutrients like nitrogen, phosphorus, and potassium efficiently.
If your soil is too alkaline (above 7.5), the plant may develop nutrient deficiencies, leading to yellowing leaves or poor head formation. Test your soil before planting—it’s the first step to avoiding disaster.
Now, let’s talk texture. Cauliflower roots need good aeration and water retention, but they hate soggy conditions. Heavy clay soils can suffocate roots, while sandy soils drain too quickly, depriving plants of moisture.
The solution? Amend your soil with organic matter like compost or aged manure to improve both drainage and nutrient-holding capacity. Aim for a 50% soil, 30% compost, 20% perlite or vermiculite mix for ideal conditions.
Don’t overlook nutrient density. Cauliflower is a heavy feeder, meaning it demands a steady supply of nutrients, especially during head formation. Work in a balanced fertilizer (like 10-10-10) at planting time, followed by a side-dressing of compost 4–6 weeks later.
This ensures your plants have the energy to produce large, tight heads instead of struggling to survive.
Here’s where many gardeners go wrong: drainage. Cauliflower roots rot quickly in waterlogged soil. If your garden sits in a low spot or has poor drainage, consider planting in raised beds or mounding soil to create a slight elevation.
Add coarse materials like gravel or sand to the bottom of holes if you’re planting in containers. A simple test—dig a hole, fill it with water, and time how long it takes to drain. If it’s still wet after 6 hours, your soil needs amending.
One of the biggest mistakes I see is skipping soil prep because of time constraints. But trust me—10 minutes of prep now saves hours of frustration later. For example, if your soil is too alkaline, sprinkle elemental sulfur over the area and mix it in 2–3 weeks before planting.
If it’s too acidic, add garden lime and wait 4–6 weeks. Patience here pays off with healthier roots and faster growth.
For container growers, the rules are slightly different. Cauliflower in pots needs a lightweight yet nutrient-rich mix. Use a blend of 50% potting soil, 30% compost, and 20% coconut coir or peat moss to retain moisture while allowing airflow.
Add a slow-release fertilizer at planting to avoid frequent feeding. Containers also require drainage holes—non-negotiable! Without them, roots will suffocate, and your plants will wilt within days.
Finally, let’s talk about mulching. After planting, apply a 2–3 inch layer of organic mulch (like straw or shredded leaves) to retain moisture and regulate soil temperature. Mulch also suppresses weeds, which compete with cauliflower for nutrients.
Just be sure to keep the mulch 2 inches away from the plant stem to prevent rot. This simple step can double your transplant survival rate and give your plants a fighting chance against heat stress.
Remember, cauliflower isn’t just picky—it’s demanding. But when you nail the soil conditions, you’ll see the difference in root development, leaf vigor, and ultimately, the size of your harvest.
Start with these soil prep tips, and you’ll be well on your way to zero transplant shock and a bountiful crop. Happy planting! 🥬
Step-by-step guide to planting cauliflower with zero transplant shock
Planting cauliflower transplants successfully starts with the right timing and technique. I’ve learned that transplant shock happens when roots struggle to adapt to new soil conditions. The key is preparing both the soil and the plants for a smooth transition.
Once your seedlings have 4-6 true leaves and are about 4-6 inches tall, they’re ready for their permanent home in the garden.
Choose a cool, cloudy day to minimize stress—this gives plants time to settle in without wilting from sun exposure. Avoid planting during heatwaves or extreme temperatures, as this can cause root desiccation and poor establishment.
If you must plant in warm weather, opt for late afternoon to give roots a chance to hydrate overnight.
How to Plant Cauliflower Transplants
-
Step 1: Dig Holes
Space holes 18-24 inches apart in rows 30-36 inches apart for optimal airflow. Use a trowel to make holes just deep enough to bury the root ball completely—no deeper, or the plant may rot. -
Step 2: Prepare the Soil
Loosen soil to a depth of 12 inches and mix in 2 inches of compost or aged manure. This ensures roots can spread easily without resistance. Gently tap the hole to remove air pockets before placing the plant. -
Step 3: Remove Seedlings
Gently squeeze the root ball to encourage roots to spread outward. Avoid pulling the plant by the stem—this can damage delicate roots. If roots are circling, tease them apart with your fingers. -
Step 4: Plant Firmly
Place the seedling in the hole, ensuring the top of the root ball sits 1 inch below soil level. This prevents stem rot while keeping the plant stable. Press soil gently around the base to eliminate air gaps. -
Step 5: Water Thoroughly
Use a watering can with a fine rose to soak the soil around the plant until water drains 6 inches deep. This encourages roots to grow downward quickly. Avoid wetting the leaves to prevent fungal diseases. -
Step 6: Mulch and Protect
Apply 2-3 inches of mulch (straw or shredded leaves) around the base, keeping it 2 inches away from the stem. This retains moisture and regulates soil temperature. For extra protection, use floating row covers if nighttime temps drop below 50°F.
After planting, monitor your cauliflower closely for the first 7-10 days. Look for signs of wilting or yellowing leaves, which indicate transplant shock. If this happens, trim any damaged foliage and water deeply to revive the plant.
I’ve found that consistent moisture during this critical period is the best way to prevent stress.
For the first week, avoid fertilizing—your plants need to focus on root establishment, not leaf growth. Once they’ve shown signs of recovery (new growth and vibrant leaves), you can apply a balanced fertilizer like 10-10-10 at half strength.
This gentle approach ensures your cauliflower gets the nutrients it needs without overwhelming it.
Remember, the goal is to mimic the conditions your seedlings were raised in. By following these steps, you’ll give your cauliflower the best chance to thrive from day one—no transplant shock required! 🥬