
How To
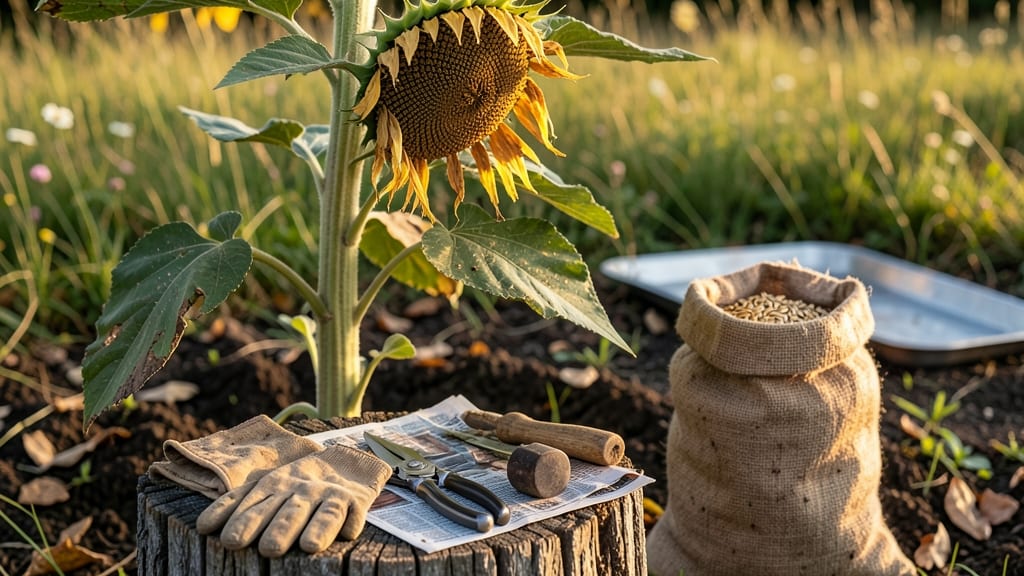
Harvest sunflower heads for seeds when the back turns brown and petals wilt—this is the sweet spot for storing seeds that sprout strong and healthy.
Picture this: your towering 🌻 sunflowers stand tall in your garden, their golden faces nodding in the breeze. But if you wait too long, birds will feast on the seeds, or the heads might crack open in the rain.
Timing is everything, and missing it means wasted effort—or worse, seeds that won’t grow next year.
Here’s the key: look for a tan or brown back on the seed head, dried petals that crumble easily, and seeds that rattle when you shake the head gently. These cues mean the seeds are fully mature and ready for harvest, whether you’re in Zone 6a or beyond.
In this guide, I’ll walk you through the exact steps to harvest, dry, and store your seeds—plus the common mistakes that ruin a good batch. By the end, you’ll know exactly when to cut those heads and how to keep your seeds viable for planting next spring.


How to identify perfectly ripe sunflower heads for seed harvesting
Harvesting sunflower seeds at the right time ensures maximum yield and viability. The key is watching for visual and tactile cues that signal peak maturity. These indicators vary slightly by sunflower variety, but the core principles remain the same across most types.
Understanding these signs helps you avoid harvesting too early—when seeds won’t store well—or too late, when birds or weather may spoil your crop.
Sunflowers typically reach seed maturity 80–120 days after planting, depending on the variety. For example, dwarf varieties like 'Teddy Bear' mature faster (around 80 days), while standard varieties like 'Mammoth' take closer to 120 days.
Timing also depends on your climate zone—cooler regions may need an extra week or two compared to warmer areas.
| Indicator | Description | Action |
|---|---|---|
| Petal Color | Fully wilted, dry, and brown | Check daily once petals start yellowing |
| Back of Head | Tan or brown (not green) | Harvest when 70–80% brown |
| Seed Firmness | Seeds rattle when shaken | Gently shake head over paper |
| Center Dryness | Dry, papery texture inside | Split open 1–2 seeds to check |
| Leaf Condition | Lower leaves yellow and crispy | Indicates plant redirecting energy to seeds |
The first visual cue to watch is the petal color change. When petals shift from vibrant yellow to a dry, brown hue, it’s time to start monitoring the seed head’s back.
This area should turn from green to a tan or brown color, signaling that the seeds inside are maturing. Pay close attention to this transition—it’s the most reliable indicator of readiness.
A tactile test is equally important: gently shake the seed head over a piece of paper. If seeds rattle inside, they’re likely ready for harvest. This "rattling" sound confirms that the seeds have dried sufficiently and are no longer moist.
For a final check, split open 1–2 seeds—they should feel firm and dry, with no moisture inside. If they’re still soft or sticky, wait another 3–5 days.
Seasonal timing also plays a role. In cooler climates (USDA Zones 3–5), harvest typically occurs in late August to early September, while warmer zones (Zones 7–10) may see harvests as late as October or November.
Early-maturing varieties like 'Autumn Beauty' are best harvested in late summer, while late varieties like 'Russian Giant' may not be ready until early fall.
One common mistake is harvesting when the back of the head is only partially brown. This often results in seeds that don’t store well or germinate poorly. Always wait until at least 70% of the back is brown before cutting.
Another error is harvesting on rainy or humid days, which can introduce moisture and mold to your seeds during drying.
For dwarf sunflowers, which mature faster, focus on the seed head’s firmness rather than petal changes, as their petals may wilt sooner. Meanwhile, tall varieties like 'ProCut' often require a bit more patience—their seed heads take longer to fully brown.
Always adjust your timing based on the specific variety’s days to maturity, listed on the seed packet.
Once you’ve confirmed all indicators, harvest on a dry, sunny day to minimize moisture. Use clean, sharp pruning shears or a knife to cut the seed head, leaving a 1–2 inch stem attached.
Hang the heads upside down in a well-ventilated, dry space (like a garage or shed) for 2–4 weeks to fully dry before processing the seeds.
By mastering these visual and tactile cues, you’ll consistently harvest sunflower seeds at their peak. This ensures the best yield, storage life, and germination rates for next year’s garden. Happy harvesting! 🌻
Step-by-step process for harvesting and storing sunflower seeds
Once you’ve identified your sunflower heads are ripe for seed harvesting, the next critical steps are cutting, drying, and storing them properly to ensure high germination rates.
Skipping these steps can lead to moldy seeds or poor viability—so let’s walk through the exact process I use every year for perfectly preserved sunflower seeds.
Start by harvesting on a dry, sunny day when humidity is low. This minimizes the risk of fungal growth during the drying process. Use clean, sharp pruning shears or a knife to cut the seed heads about 2–3 inches below the base.
Leave the stems attached—they’ll help with hanging and drying.
Step-by-Step Sunflower Seed Harvesting & Storage
- 1. Cut the Head: Snip the seed head when the back turns brown and petals wilt. Include 2–3 inches of stem for hanging.
- 2. Bundle & Hang: Gather 5–10 heads and tie them together with twine or rubber bands. Hang upside down in a dry, well-ventilated spot (e.g., garage or shed).
- 3. Dry Completely: Wait 2–3 weeks until seeds rattle when shaken. The head should feel light and papery.
- 4. Remove Seeds: Rub the dried head between your palms or use a clean cloth to separate seeds from chaff.
- 5. Clean & Store: Winnow seeds to remove debris, then store in a paper envelope or airtight container in a cool, dark place.
After cutting, bundle the heads in groups of 5–10 and hang them upside down in a well-ventilated area. A garage, shed, or even a porch works perfectly—just avoid direct sunlight, which can overheat the seeds.
The drying process typically takes 2–3 weeks, but check weekly to ensure they’re not moldy or attracting pests.
Once the heads are fully dry, remove the seeds by rubbing the head between your hands over a clean sheet or tray. This separates the seeds from the chaff. For extra cleanliness, use a fan or sieve to blow away lighter debris.
Store the seeds in paper envelopes or airtight containers—paper allows seeds to breathe, while containers protect them from moisture and pests.
Before planting, test a few seeds by placing them between damp paper towels for 3–5 days. If they sprout, your seeds are viable! If not, try storing them in the fridge for 1–2 weeks to break dormancy.
With proper care, your sunflower seeds can stay viable for up to 5 years—just like the batch I’ve saved from last summer’s harvest!