
How To
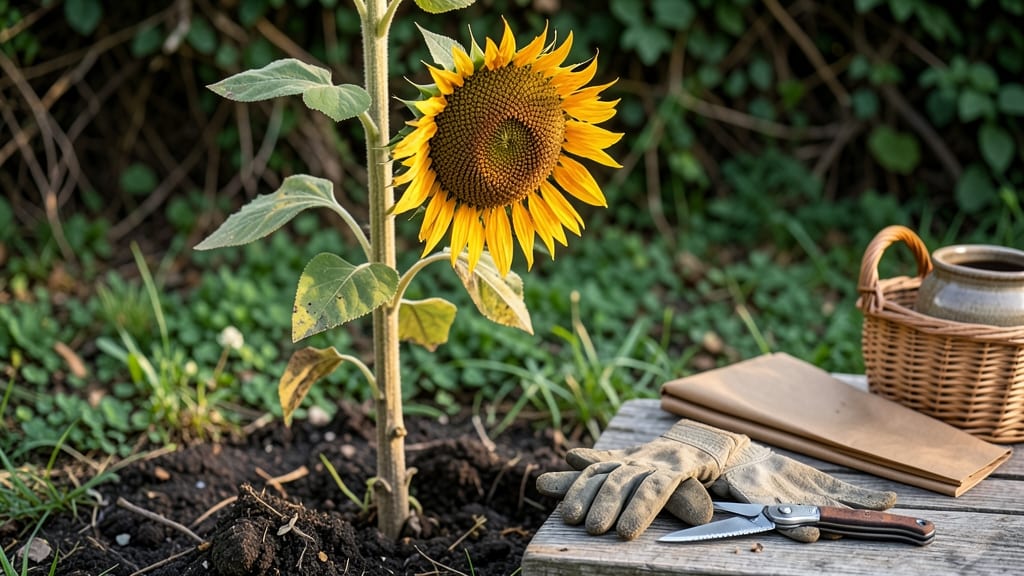
Picking sunflower seeds at the right time means the difference between a nutrient-packed harvest and wasted effort—because those seeds won’t wait forever.
You’ve nurtured your 🌻 sunflowers all season, and now the question looms: when do you harvest? Too soon, and the seeds are underdeveloped; too late, and birds or rain will steal your reward. The secret lies in watching for three key signs—seed color, dryness, and that unmistakable rattle.
Most sunflower varieties take 90 to 120 days to reach peak seed readiness, but timing shifts with your climate. In USDA Zone 6a, that means late August to early September—just as summer’s heat softens into fall.
Miss this window, and you risk seeds that are either too green or already scattered on the ground.
Below, I’ll walk you through the exact steps to test seed ripeness, how to avoid common harvesting mistakes, and what to do once those seeds are in your hands—so you end up with a pantry full of flavor, not frustration.


Sunflower seed maturity timeline: exact days after blooming for harvest
Knowing when to pick sunflower seeds starts with understanding their maturity timeline. From that vibrant yellow bloom to crisp, ready-to-harvest seeds, sunflowers follow a predictable schedule—but environmental factors can shift it. Oil-type varieties like 'NuSun' mature faster than confectionery types like 'Russian Giant', so timing varies.
Let’s break down the exact stages and days after blooming to harvest your seeds at peak perfection.
After a sunflower blooms fully, the real countdown begins. Most varieties take 45 to 60 days from blooming to seed maturity, but this can stretch to 70 days in cooler climates.
The back of the seed head (the "crown") is your best indicator—it transitions from green to golden-yellow first, signaling the seeds are nearing readiness. Watch for this color shift closely, as it’s your first cue that harvest time is approaching.
Here’s a visual guide to sunflower seed maturity, including variety-specific timing and key visual cues to watch for:
| Stage | Days After Blooming | Visual Cues | Variety Notes |
|---|---|---|---|
| Back Turns Golden | 25-35 days | Crown changes from green to yellow | Oil types mature faster |
| Petals Fall Off | 35-45 days | Yellow petals wilt and drop | Confection types take longer |
| Seed Head Dries | 45-60 days | Back turns brown; seeds rattle when shaken | Dwarf varieties mature in 45 days |
| Harvest Ready | 60-70 days | Seed head feels light; seeds darken | Standard types need 65+ days |
Environmental factors like temperature and sunlight play a huge role in speeding up or slowing down maturity. Hot, sunny days accelerate seed development, while cool, cloudy weather can delay it by weeks.
For example, sunflowers grown in USDA Zone 9 may mature 10-15 days faster than those in Zone 5. If you’re in a cooler climate, watch for frost warnings—seeds must be harvested before the first frost or they’ll spoil.
Did you know oil-type sunflowers like 'Mordovian' mature in as few as 50 days after blooming, while giant confectionery types like 'Russian Mammoth' can take up to 75 days? Always check your variety’s seed packet for specific estimates, but use the visual cues above as your final guide.
For instance, if your seed head turns brown but the seeds still feel soft, they need 5-7 more days on the plant.
One of my biggest mistakes was harvesting seeds too early because I thought they looked dry enough. The seeds inside were still pale and hadn’t fully developed their rich, dark color.
Always perform the shake test: hold the seed head over a bucket and give it a firm shake. If seeds rain down easily, they’re ready. If not, wait another 3-5 days—patience pays off with higher oil content and better flavor.
For confectionery sunflowers, aim to harvest when the seed shells turn black and the seeds inside are plump and firm. Oil-type seeds, on the other hand, should be dark gray or black with a hard, glossy shell.
If you’re unsure, crack open a seed—if it’s white or translucent, it’s not ready. Wait until the embryo inside is fully formed and the seed feels heavy for its size.
Pro tip: Morning harvests are ideal because the seed heads are driest after a night without dew. Cut the entire seed head with 6-12 inches of stem attached, then hang it upside down in a dry, well-ventilated spot for 1-2 weeks to finish drying.
This final drying step is crucial—it prevents mold and ensures long-term storage.
If you’re growing sunflowers in containers, expect a slightly shorter maturity timeline (about 5-10 days less) due to limited root space. However, container-grown sunflowers still follow the same visual cues for harvest readiness.
Just be extra vigilant about watering—container soil dries out faster, which can stress the plant and delay seed development.
Finally, don’t forget that birds love sunflower seeds! If you notice squirrels or sparrows pecking at your heads, cover them with bird netting as soon as the back turns yellow.
How to test sunflower seed readiness: 3 non-negotiable checks before harvesting
Harvesting sunflower seeds at the right time ensures maximum flavor, oil content, and viability. But how do you know when they're truly ready? Premature harvesting leaves seeds underdeveloped, while waiting too long risks bird damage or mold.
The key lies in three foolproof tests that reveal the perfect harvest window—no guesswork required.
First, focus on the back-of-head test, a gardener’s trick that’s surprisingly accurate. When the seed head turns fully brown and the back (receptive surface) feels dry and papery, your seeds are nearly ready. This change signals the end of pollination and the start of seed maturation.
Pair this with the color pattern shift from green to golden-brown stripes on the seed shells—this is your visual cue that the seeds are nearing peak ripeness.
The third test involves the stem and bract separation. When the outer leaves (bracts) at the base of the seed head start to dry out and detach with minimal pressure, your seeds are at their peak.
This indicates the plant is redirecting energy to seed maturation rather than foliage growth. Pro tip: Shake the seed head—if seeds rattle inside, they’re ready for harvest.
Watch for troubleshooting signs like premature drying (green seeds with brown shells) or mold risk (dark spots on seeds). If your seeds dry too quickly, cover the head with a breathable mesh bag to protect them from birds while allowing airflow.
For mold, harvest immediately and dry seeds in a well-ventilated, dry space within 24 hours.
Once you’ve confirmed all three checks, harvest on a dry, sunny morning to prevent mold. Cut the seed head with 2-3 inches of stem attached, then hang it upside down in a dry, dark place for 1-2 weeks. This final drying step ensures long-term seed viability for planting next season.
Mastering these three tests guarantees a high-yield harvest with seeds packed with flavor and nutrients. The next time you see that golden-brown stripe, you’ll know it’s time to celebrate—your sunflower seeds are ready for the table or the garden!